Southern Fried Chicken with Pan Gravy
By Brother John
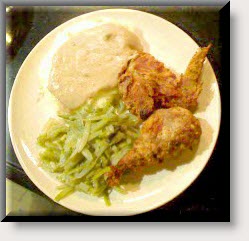
Ask any southern woman the best way to her man’s heart, and she will tell you it’s her crispy Southern Fried Chicken! Today I’m going to walk you through making my version of this all time favorite. We’re going to make Southern Fried Chicken, Mashed Potatoes with Pan Gravy, and a nice veggie side. Yummy! You’ll get the step-by-step right here, and I’ll include a recipe on our sites “Food and Wine Recipes” section to go along with it.
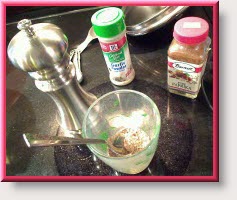
For extra flavor, I like to first make a dry rub that I’ll use to directly coat my raw chicken pieces. It gets flavor directly onto the chicken skin, (or if you are eating healthy, directly onto the chicken meat). Just mix up some sea salt, black cracked pepper, garlic powder, and paprika. Apply generously to your fresh chicken pieces.
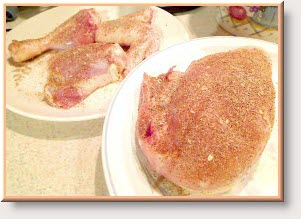
The moisture from your fresh chicken will allow the rub to stay in place with enough remaining moisture to hold onto the first layer of the crispy coating that’s coming up next. Be sure to generously coat both sides of each piece!
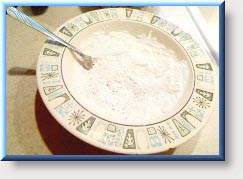
Next, we want to prepare the crispy coating that will go onto the chicken. I like to use a combination of flour, sea salt, cracked black pepper, garlic powder, and cayenne pepper (since I always enjoy a touch of heat). You’ll want to mix these ingredients into a bowl large enough to easily dredge your pre-seasoned chicken. I like to double coat my chicken so we’ll use this mixture in two stages. The first stage is done right after applying the dry rub (mentioned above), and the next stage will occur right after soaking your chicken in an egg wash.
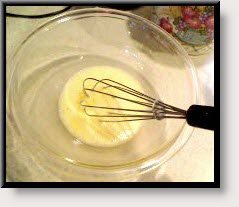
I like to mix up a simple egg wash to which I add a small amount of hot sauce. But that’s just the way I roll!!! Your chicken will then have a layer of pre-seasoning, and an initial first coating of seasoned flour. With that said, it’s ready to take a dip in the egg wash. Your flour coating should get moistened (become a bit gummy) but should not be allowed to actually wash off the chicken. Do this carefully, and slowly. You’ll need enough moisture to later dredge back through the flour mixture a second time. We (in the cooking trade) call this: “Double Dipping”. It makes for a very crispy/crunchy final product!
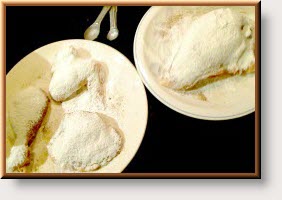
So, let’s review what we now have. We have a pre-seasoned layer, another layer dredged through our flour mixture, an egg washed layer, and a final layer dredged through our flour mixture one more time. Our pieces are ready to be fried in hot oil. (At this point, you could also deep fry these, which is probably better and faster, but I’m going to want to make pan gravy from the rendered fat and oil).
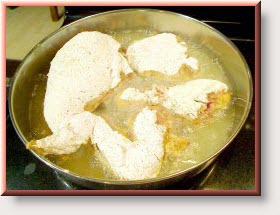
As always when working with very hot oil (350°), please be sure to carefully lower your chicken pieces so that you won’t get burned. I use tongs and try to lower each piece by its front, then middle, and then its back. (If any splashing were to occur this way, it would be away from me, not toward me).
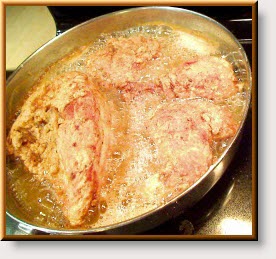
You’re best bet for crispy fried chicken is to let it bask in the hot oil and don’t mess with it!!! I like to fry my chicken in just two passes. Since it takes about 30 to 45 minutes until done, turn your chicken after about half that time. The goal is to have it turn golden brown in the time it takes to be completely cooked (but not overcooked). Practice makes perfect it’s true, but it’s also not that hard to judge if you keep an eye on it from time to time.
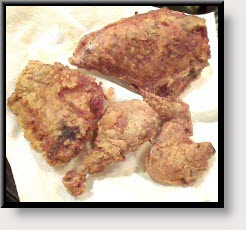
When golden brown and crispy lower your heat (medium-low) and carefully remove the chicken pieces from the hot oil. Place pieces onto paper towels to drain off any excess oil, then we’ll let them rest in a warm oven (175°). The pan gravy will happen fairly quickly so our pieces won’t have to rest in the warm oven for long.
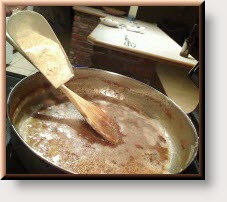
And now for the pan gravy. This will be a milk based gravy that starts out with all that gritty brown goodness at the bottom and sides of our pan. We need to drain off all but a few tablespoons of oil, (but we need to be very careful not to lose any of the gritty stuff!). Believe me when I tell you, the bits left behind are full of flavor!!! Next we’ll add some flower to make a roux (pronounced “Roo” or “Rue”). A roux is made from equal parts flour and oil. You slowly whisk in your flour until the mixture is thick (think plaster of Paris or cake frosting). It’s important to keep whisking/stirring so that the flour will be evenly cooked by the oil. We want the thickening properties of the flour, but none of that raw flour taste. Eventually the flour will begin to brown. You can stop browning at any point between light golden to mahogany in color but don’t go beyond mahogany. The darker the roux, the more flavor added to the gravy. And don’t have your heat too high! You’ll go from white flour to burnt!
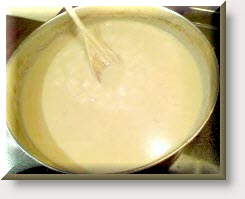
Once we have our roux paste, we can begin to slowly add cold milk to it. You must always add cold liquid to a heated roux and we’ll do this a little at a time. As we add the milk, we’ll keep whisking/stirring it so it stays creamy and free from lumps. As the roux begins to absorb the milk, it will begin to thin out. At that point you can pour in the rest of your milk but continue to stir! To get best flavor, you should simmer the gravy for about 10 to 20 minutes. That will allow all of the remaining flour to absorb the liquid making it silky smooth.
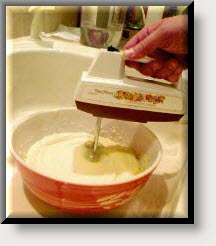
And nothing goes better in the world with homemade pan gravy then creamy buttery Mashed Potatoes!!! Now I know that some of you will pour some of the pan gravy onto your crispy southern fried chicken and that’s fine. But me? I’m a purist. I like my southern fried chicken to stay crispy/crunchy on the outside, and tender/moist on the inside. But don’t worry… I always make up for it with extra helpings of mashed potatoes! Yummy! The only thing left to do is to make up a side veggie. I’m partial to french style greenbeans so that’s what I’ll make. And now… it’s eatin’ time!!!


